
How to Use Room Correction Without Making Sound Worse
Measure room correction correctly, choose a safe target curve, compare results and avoid filters that make a good system sound worse.
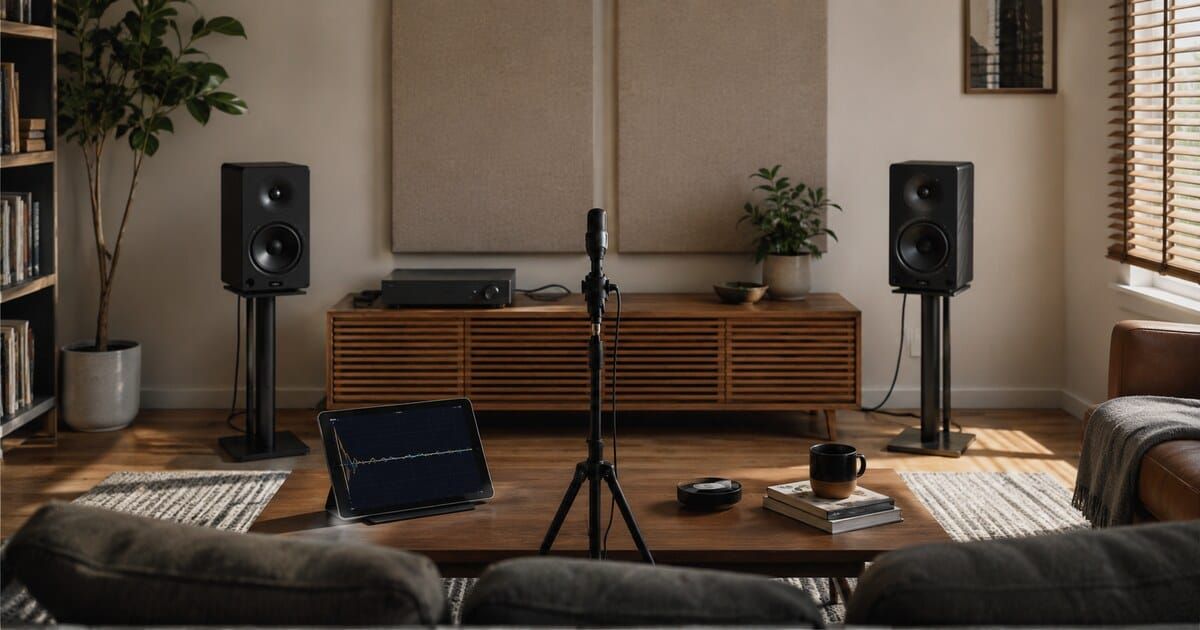
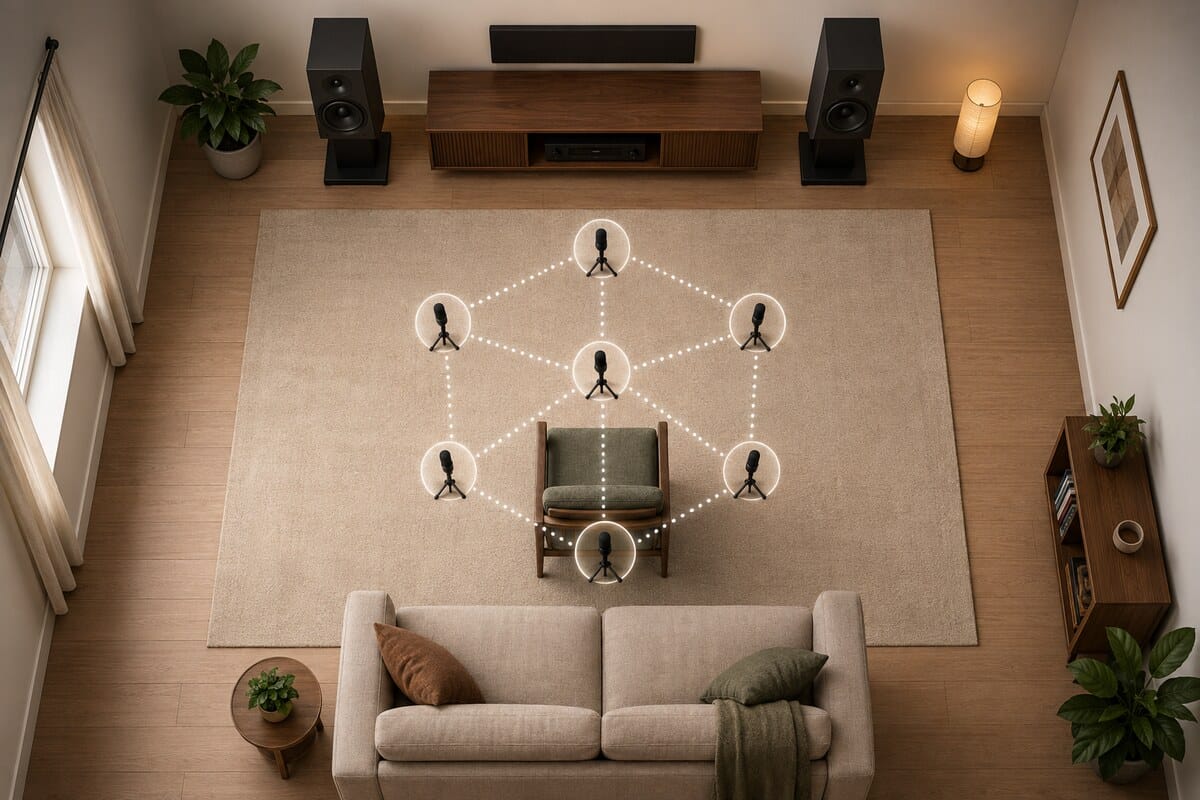
Room correction can make bass more even and improve channel matching, but a careless measurement can also produce a thin tonal balance, unstable imaging or filters that solve the wrong problem. This guide shows how to measure first, judge the result and keep a safe way back.
What room correction can—and cannot—do
Room-correction systems play test signals, measure the sound reaching a microphone, and calculate filters for the speakers, subwoofer or complete system. Depending on the product and licence, those filters may adjust frequency response, level, delay and—in some systems—impulse or phase behaviour.
Verified fact: Dirac says Dirac Live uses measurements from several positions and allows a target curve to be adjusted. Denon documents that Audyssey setup can measure up to eight positions and stores level, distance and equalization results. WiiM's RoomFit uses a phone or supported external microphone, while Sonos Trueplay uses either compatible mobile-device microphones or microphones built into supported speakers. These products are not interchangeable, even though they share the broad goal of adapting playback to a room.
Correction is particularly useful for broad bass excess, channel-to-channel tonal differences and level or distance setup. It cannot move a loudspeaker, remove a rattling cabinet, restore a missing bi-wire jumper, increase an amplifier's clean power or create one perfect response at every seat.
Editorial inference: A narrow, deep dip that changes sharply when the seat or speaker moves is usually a poor candidate for aggressive boost. Adding boost asks the amplifier and driver for more output while the acoustic cancellation can remain. Repositioning the speaker or seat is the more useful first experiment. Genelec's placement guidance explicitly notes that moving the listening position can solve a room-mode null, and its GRADE documentation points users toward repositioning, room improvement or negative equalization when reviewing pre-calibration peaks and notches.
Before measuring: make the physical system correct
Calibration should describe the system you intend to keep. If the speakers, subwoofer controls or listening position change afterwards, the saved filters no longer describe the same system.
- Confirm left and right channels, speaker polarity and any HF/LF terminal jumpers. The passive-speaker wiring guide covers those checks.
- Place the speakers symmetrically where practical, set tweeter or acoustic-axis height, and choose the listening position before EQ. Use the stereo speaker-placement sequence if the layout is still provisional.
- Remove temporary objects between the speaker and microphone. Close doors and windows in the state normally used for listening.
- Stop noisy appliances, fans and conversations. Avoid holding the microphone if the manual expects a stand.
- For a subwoofer, follow the receiver or correction-system instructions for gain, low-pass filter, phase and standby. Do not import another brand's starting positions. The two-channel subwoofer guide explains the connection choices.
- Disable temporary tone controls, loudness modes and manual EQ unless the product explicitly instructs you to leave them active.
A reliable measurement sequence
- Update and identify the system. Record the amplifier, processor or speaker model, app version, firmware version, correction licence or tier, microphone model and calibration-file name. Features and supported phones can change with software and region.
- Choose the listening area. Decide whether the result is for one main chair, a sofa or several rows. A tighter area normally prioritizes one listener; a wider pattern asks the system to find a compromise across more seats.
- Place the first point precisely. Put it at the centre of the main listener's head position, at seated ear height. Use a stand where supported. Keep the microphone clear of chair backs, cushions and your body.
- Set level without clipping. Follow the on-screen meter or receiver instructions. Test tones should be comfortably audible above the room noise, but neither the microphone input nor playback chain should overload.
- Measure the remaining positions. Follow the pattern shown by the product. Spread points through a compact listening volume around the primary position; do not put every point at exactly the same coordinate, and do not invent extra points outside the allowed layout.
- Review detected hardware. Check that every expected speaker and subwoofer was found, channel assignments are correct, and reported distances are plausible. A distance that differs from the tape measure is not automatically wrong: DSP and subwoofer electronics can add delay. A wildly impossible value still warrants a wiring, routing or measurement check.
- Save the first result unchanged. Keep the default calculation in its own preset or slot. Name it with the date and measurement area. This becomes the reference before experimenting with target curves or correction limits.
Why measurement positions matter
A microphone captures one acoustic position, not the room as a whole. At bass frequencies, a small movement can change the balance because room modes create pressure maxima and minima. Reflections also change with distance from the microphone to nearby surfaces.
Verified fact: Dirac describes several measurement positions as the basis for a listening-area correction profile. Denon directs Audyssey users to move the microphone from the main position through subsequent positions, up to the model's permitted count. WiiM also offers a moving-microphone method on supported RoomFit versions. The exact geometry, count and order remain product-specific.
Experience-based recommendation: Treat the first point as the anchor and the others as samples of the space your head or listeners actually occupy. Keep them clear of the chair back. Avoid a ruler-straight row, a huge tour of the entire room or multiple measurements at one unmoved point unless the manufacturer explicitly requests that pattern.
Start with the default target
A target curve is the response the system tries to approach; it is not a photograph of what the speakers measured. Dirac offers built-in and custom target curves. Other products may expose only bass and treble controls, a limited set of profiles, or no editable target at all.
Begin with the default. Listen for several days before drawing a complicated curve. If voices become thin, cymbals turn sharp or the system loses weight, first confirm the measurement and correction range rather than stacking more EQ on top.
| Result after calibration | First check | Avoid |
|---|---|---|
| Bass is cleaner but too light | Compare at matched volume; review target bass level and subwoofer detection | Immediately adding a large narrow boost |
| Centre image moved | Speaker detection, channel level, first microphone position and symmetry | Drawing separate tonal curves before rechecking setup |
| Treble sounds dull or bright | Microphone orientation/calibration file and upper correction range | Assuming every microphone should point upward |
| One seat improved, another worsened | Measurement area and seat-to-seat bass variation | Expecting one filter to make every position identical |
| System clips or strains sooner | Positive boosts, master level and available headroom | Treating EQ gain as free amplifier power |
| Correction sounds unchanged | Correct preset, input path and filter actually enabled | Repeating the same measurement without checking routing |
Should you correct the full frequency range?
There is no universal answer. Bass is where domestic rooms usually produce the largest position-dependent changes, so a bass-limited filter is a sensible comparison. Full-range correction may also improve speaker matching or tonal balance, but it makes the result more dependent on microphone accuracy, orientation, the target curve and the loudspeaker's off-axis behaviour.
Editorial judgement: Create two filters when the product allows it: one using the manufacturer's default full range and one limited to the bass or low-mid region. Do not present either as inherently more accurate. The useful result is the one that remains stable across familiar material, normal listening levels and the intended seats without demanding excessive boost.
Dirac's current product information notes both full-band correction and a Limited Bandwidth licence that operates up to 500 Hz. That is a licence-specific fact, not a recommendation that every system should use 500 Hz as its dividing line.
Compare without fooling yourself
Correction may change average level as well as tonal balance. The louder option often seems more detailed in a quick comparison. Match levels as closely as the product permits, use the same source and track, and switch only the correction preset.
- Use a centred spoken voice or vocal to judge image stability.
- Use bass with sustained notes to hear whether peaks became more even.
- Check a quiet track for newly audible noise or hum.
- Listen at the main seat and one secondary position.
- Repeat on another day before making a permanent target-curve change.
Experience-based recommendation: Keep one bypass or unedited preset and change one variable at a time. Photograph physical controls before calibration. Export or back up the project if the software supports it. These practices are not acoustic standards; they simply make a result repeatable and reversible.
When to measure again
Run a new calibration after moving speakers or the primary seat, adding or removing a subwoofer, changing a crossover architecture, replacing the measurement microphone, or making a substantial room change. Denon's Auto Setup documentation explicitly instructs users to rerun setup when speaker connections or subwoofer volume change.
A firmware or app update does not automatically invalidate a saved filter. Recheck when the release notes change the correction engine, microphone support, target handling or bass management, or when the product asks for a new measurement.
If a correction system depends on a networked app and devices disappear during setup, resolve the connection first with the network-audio stability guide. A drop-out during measurement is not an acoustic result.
What is verified, inferred and experience-based
Verified facts: The cited manufacturer documents define their supported microphones, measurement procedures, position counts or patterns, target controls and device limits. Genelec documents the influence of placement and recommends placement or room improvements when reviewing pre-calibration problems. miniDSP supplies serial-specific UMIK-1 calibration files and distinguishes 0-degree from 90-degree use.
Editorial inference: Repositioning is preferable to aggressive boost for a narrow cancellation; a compact multi-position pattern is more representative of a real listening area than repeating one point; and bass-limited versus full-range filters are worth comparing when the product provides both. These conclusions follow from the measurement behaviour and headroom trade-offs but are not universal manufacturer guarantees.
Experience-based recommendations: Save an untouched default preset, level-match comparisons, listen across several days, photograph controls and change one variable at a time. These are workflow practices, not product specifications.
Applicability, limitations and disclosure
Applies to: Consumer stereo, 2.1 and home-theatre systems with automatic room correction, including supported implementations of Audyssey, Dirac Live, RoomFit, Trueplay and comparable manufacturer systems.
Version and regional limits: Features depend on hardware model, correction licence, app and firmware version, mobile-device support and region. As checked on 1 September 2026, Sonos documents advanced Trueplay for compatible iOS/iPadOS devices and quick tuning on supported products for Android; WiiM RoomFit options vary by device and current app/firmware; Dirac licences can limit frequency range or channel features. Follow the instructions displayed by the exact product.
Not covered: Professional room design, construction-level acoustic treatment, manual REW filter design, active crossover commissioning, Dirac Live Bass Control or Active Room Treatment setup, hearing-compensation EQ, automotive calibration, or laboratory loudspeaker measurement.
Limitations: SoundPath Lab did not measure the reader's room or equipment. Automatic correction cannot guarantee a preferred sound, identical seats or protection from clipping. Manufacturer measurements and predicted curves are not independent laboratory verification.
Disclosure: SoundPath Lab received no payment, product or software licence from the companies cited. No affiliate purchasing links are included. Brand examples are technical references, not rankings or endorsements. The cover and measurement-position illustration are original AI-generated editorial images of unbranded equipment, not test photographs.
Sources
- Dirac Live Quick Start Guide — calibrated microphone and guided calibration workflow.
- Dirac Live Room Correction — multiple measurement positions, target curves and full- versus limited-bandwidth scope.
- Denon AVR-X8500HA Audyssey Setup procedure — supplied microphone orientation, ear height, subwoofer preparation and up to eight positions.
- WiiM RoomFit comprehensive guide — phone preparation, microphone direction and ear-height instructions.
- WiiM RoomFit moving-microphone method — current MMM workflow and app setting.
- Sonos Trueplay tuning guide and compatibility list — product and mobile-device limits.
- Genelec monitor placement guide and GLM GRADE — room modes, listening-position nulls and pre-calibration placement review.
- miniDSP UMIK-1 documentation — unique calibration files and orientation-specific use.
For a model-specific check, search the SoundPath Lab product database. To map correction, source, amplifier, speakers and subwoofer as one chain, use the System Builder.
Revision record: First published 1 September 2026. Evidence and compatibility references last checked 1 September 2026.
Continue the research
Move from this article to a verified product decision
Use descriptive links to move between product records, brand evidence, comparisons, setup or issue guidance, and compatible-system tools. Inclusion reflects subject relevance, not a score or endorsement; product facts, recommendation eligibility, and commercial links remain separate.
Product page
Verify the exact model
Brand center
Check the wider platform
Related comparison
Compare the system role
Setup, firmware & problems
Check behavior before buying
System Builder & compatibility