How to Connect a Turntable: PHONO, LINE, Ground and Cartridge Compatibility
Connect a turntable without weak sound, distortion or hum by matching PHONO/LINE level, grounding and MM/MC cartridge compatibility.
A turntable does not always produce the same kind of signal as a streamer or CD player. Get one switch or input wrong and the result can be whisper-quiet, bass-light, badly distorted—or accompanied by a stubborn hum.
The short answer
A conventional turntable cartridge produces a small phono-level signal. Before that signal reaches a normal AUX, CD or LINE input, it needs a phono preamplifier—also called a phono stage or phono EQ. That stage adds gain and applies the playback equalization expected by records.
Your system needs one working phono stage in the analogue path:
Verified fact Yamaha and Cambridge Audio both document the same basic routing: a turntable’s unequalized PHONO output goes to a PHONO input, while a turntable with its phono preamp enabled goes to a normal line-level input. Both warn against running two phono stages in series.
The practical rule is simple: one phono stage, not zero and not two. “One” is an editorial shorthand rather than a formal standard, but it follows directly from the signal paths in the manufacturers’ instructions.
Why PHONO and LINE are different
The output from a magnetic cartridge is much smaller than a typical line-level source. Yamaha’s R-N600A specifications illustrate the scale: its MM phono input is rated for 3.5 mV, while its CD and other line inputs are rated for 200 mV. Audio-Technica’s AT-LP3XBT provides another same-product comparison: its PHONO output is specified at 4.0 mV nominal and its LINE output at 252 mV nominal, with 36 dB of phono gain.
A phono stage does more than make the signal louder. It applies the inverse of the record’s standardized recording equalization—commonly called RIAA playback equalization—restoring the intended tonal balance. Audio-Technica identifies its internal stage as RIAA equalized, while Cambridge specifies RIAA accuracy for its Alva Solo stage.
What the two common mistakes sound like
| Connection mistake | Likely sound | Safe correction |
|---|---|---|
| PHONO output → AUX/CD/LINE input, with no phono stage | Very quiet, thin and lacking bass; turning the amp up adds noise | Use the amplifier’s PHONO input, enable the turntable’s built-in stage, or add an external phono stage |
| Turntable set to LINE → amplifier PHONO input | Much too loud, overloaded or obviously distorted; tonal balance may be wrong | Mute first, then move the cable to a line input or switch the turntable to PHONO |
| PHONO output → external stage → amplifier PHONO input | Same double-stage problem: excess gain and repeated equalization | Move the external stage’s output to AUX/CD/LINE |
| Correct level path, but ground/reference problem | 50/60 Hz hum or buzz that may change when equipment is touched | Check the supplied ground lead and then troubleshoot the system systematically |
Editorial inference If the sound is very quiet and bass-light, missing phono gain/equalization is more likely than a weak amplifier. If it is explosively loud and distorted as soon as the stylus lands, double phono amplification is more likely. These symptoms narrow the search; they do not prove the diagnosis.
First identify what your turntable actually outputs
Look at the rear panel, underside and manual. A model with a built-in phono stage may use labels such as PHONO/LINE, PHONO EQ/THRU, PREAMP ON/OFF or EQ ON/OFF. The words vary, and their logic is not always intuitive: on Yamaha’s TT-S303, for example, THRU bypasses its internal phono EQ while PHONO EQ enables it.
Do not decide from the RCA plugs alone. The same red-and-white connectors can carry either phono level or line level. Likewise, a captive cable does not prove that the turntable lacks a preamp.
If there is no switch
Check the specifications for “phono preamplifier,” “built-in phono stage,” “line output” or an output measured in volts or hundreds of millivolts. If the manual only lists a few millivolts and describes a magnetic cartridge output, plan on using a phono stage. If the documentation remains unclear, do not test by raising the amplifier to maximum; identify the exact model first.
Choose one of the four valid paths
1. Turntable PHONO to an amplifier’s PHONO input
This is the shortest path when the amplifier or receiver already has a compatible phono input. Set the turntable to PHONO, THRU or PREAMP OFF as its manual directs. Connect left to left and right to right, then attach the ground lead if the turntable provides one and the manual calls for it.
The word PHONO is not enough to confirm cartridge compatibility. Yamaha states that the RX-A4A’s phono input is for MM cartridges; a low-output MC cartridge requires a step-up transformer. Cambridge gives the AXA35 a similar scope: MM or high-output MC cartridges around 2–6 mV, while lower-output MC designs require a matching transformer or head amplifier.
2. Turntable LINE to AUX, CD or LINE
Enable the turntable’s built-in phono stage and use any ordinary analogue line input that the receiver or powered speaker manual permits. AUX and CD are usually just names for line inputs; they do not add phono gain. Avoid PHONO.
This route is often useful with powered speakers, compact streaming amplifiers and receivers that omit a phono input. If the downstream component has selectable input sensitivity or trim, begin low. The separate guide to fixed and variable line output explains how to choose the daily volume control after the phono stage has produced line level.
3. Turntable PHONO through an external phono stage
Connect the turntable to the external stage’s input, connect any specified ground lead, then connect the stage’s output to AUX, CD or LINE. Do not feed that line-level output into PHONO. Select MM or MC on the external stage only after checking the cartridge.
An external stage can solve a genuine compatibility gap, but it is not automatically an upgrade. If the integrated amplifier’s phono input already matches the cartridge and is quiet in the system, replacing it is a preference or measurement question—not a setup requirement.
4. Turntable LINE directly to powered speakers
This works when the turntable has a built-in phono stage and the speakers have a compatible analogue line input. The speakers must also provide a safe way to control volume. Power them down before connecting, start from minimum level and confirm which control owns daily volume.
If you are still choosing between self-powered and amplifier-driven systems, start with Powered vs Passive Speakers. For a passive system, the separate amplifier and speaker matching guide covers load and power questions after the source chain is correct.
MM, high-output MC and low-output MC
Cartridge type matters because output level and recommended electrical loading vary. Most built-in consumer phono inputs are intended for moving-magnet (MM) cartridges. Some also accept high-output moving-coil (MC) cartridges. A low-output MC cartridge normally needs an MC-compatible stage, a head amplifier or an appropriate step-up transformer.
Do not infer compatibility from the letters alone. Ortofon’s MC-1 Turbo, a high-output MC design, is specified at 3.3 mV and is intended for MM phono preamps. Ortofon’s low-output MC Salsa is specified at 0.38 mV with a recommended load above 20 ohms. That almost tenfold output difference shows why “MC” is not one universal input requirement.
Verified fact The exact cartridge output and recommended load, together with the phono stage’s supported cartridge type, gain and input load, determine the electrical match. Cambridge, Yamaha and Ortofon all publish model-specific examples; their numbers should not be generalized to products they do not cover.
If you do not know the cartridge, read the label on its body without touching the stylus, then find the current manufacturer specification. A replacement stylus does not necessarily identify the cartridge generator correctly, and a turntable model may have shipped with different cartridges by region or production year.
What the ground wire does—and does not do
Many turntables provide a thin separate wire or a small spade connector. Attach it to the designated GND terminal on the phono stage, amplifier or receiver when the equipment manuals specify that connection. Yamaha notes that doing so may reduce signal noise and explicitly says its phono GND terminal is not a safety ground.
Not every turntable needs a separate ground wire. Some designs reference ground through the audio cable or internal electronics. Do not invent a mains-earth connection, loosen a protective-earth conductor or use a water pipe. If the supplied arrangement hums, check the manual and cable first.
Ground is also not the only cause of hum. A damaged or poorly seated RCA cable, a power supply too close to the cartridge, a disconnected channel, a defective phono stage, cable routing or a loop elsewhere in the system can produce similar symptoms. Use How to Diagnose Hum and Buzz in a Home Audio System for a safe one-change-at-a-time test sequence.
Experience-based recommendation Keep the turntable and its low-level cable away from power bricks, wall-wart transformers and the mains transformer inside an amplifier. Route the phono cable separately from mains leads where practical, and move one item at a time while listening for a change.
A safe connection procedure
- Identify the cartridge. Record the exact model and whether its manual describes it as MM, high-output MC or low-output MC. Note output voltage and recommended load.
- Find every phono stage. Check the turntable, integrated amplifier, receiver, powered speakers and any external box. A switchable stage still counts when enabled.
- Choose one valid path. Decide where phono gain and equalization will happen. Make sure the selected stage supports the cartridge.
- Power down and lower volume. Stop the platter, mute or switch off the downstream system and place its volume at minimum.
- Set PHONO/LINE before connecting. Follow the turntable’s exact label logic. If using an external phono stage, set its MM/MC mode with the power off unless its manual says otherwise.
- Connect left, right and the specified ground. Seat RCA plugs fully without twisting fragile sockets. Do not force a ground spade into an unrelated terminal.
- Power up in signal order. Turn on the source and phono stage before the downstream amplifier or powered speakers; reverse that order when powering down if the manuals do not specify another sequence.
- Test at low level. Use a familiar, clean record. Raise volume slowly and listen for correct tonal balance, equal channels, hum and obvious overload.
Troubleshooting by symptom
Very quiet, thin and bass-light
Confirm that the signal passes through a phono stage exactly once. If the turntable is set to PHONO and connected to AUX, change to a valid path. Do not compensate by running the amplifier near maximum; that raises hiss without restoring the missing equalization.
Loud, harsh or distorted at a low volume setting
Mute immediately. Look for LINE feeding PHONO or an external phono stage feeding another PHONO input. Correct the routing while powered down, then restart at minimum volume.
Hum in both channels
Check the designated ground connection, RCA seating and proximity to power supplies. Disconnect optional devices one at a time while the system is safely muted between changes. Never defeat protective mains earth.
Hum or silence in one channel
Swap left and right at one accessible point, with power down before each move. If the fault changes sides, it is upstream of that point; if it stays on the same speaker, it is downstream. Stop if a cable or socket is loose, damaged or hot.
Level is normal, but one cartridge setting is noisier
Recheck MM/MC mode, gain and loading against the cartridge specification. A low-output MC on an MM input can require excessive volume and reveal noise; a high-output design may not need MC gain. Avoid treating the loudest setting as the correct one.
Before buying a phono stage
- Confirm that the turntable and amplifier do not already provide a compatible stage.
- Match supported cartridge type, gain and loading to the exact cartridge—not merely the turntable brand.
- Check that the stage has the connectors and grounding arrangement your system needs.
- Confirm local mains voltage or the supplied power adapter for your region.
- Plan a normal line input for the stage’s output.
- Do not buy a phono stage to solve a speaker-power, room-acoustics or mechanical cartridge-alignment problem.
The SoundPath Lab Product Database can help locate exact product records, and the System Builder can map the complete chain. Return to the Learn hub for related setup and troubleshooting guides.
What is verified, inferred and experience-based
Verified fact The connection paths, example input/output levels, RIAA-stage specifications, MM/MC compatibility examples and ground-terminal notes come from current manufacturer manuals and product documentation cited below.
Editorial inference “Use exactly one phono stage” and the symptom-first decision tree summarize those documented behaviours. They are reliable setup rules, but the symptom alone cannot identify a failed component.
Experience-based recommendation Powering down before changes, beginning at minimum volume, separating phono and mains cables and testing one change at a time are conservative working practices. They are not substitutes for model-specific instructions or qualified repair.
Applicability, limits and disclosure
Applies to: consumer record players using magnetic cartridges and analogue RCA connections with integrated amplifiers, receivers, external phono stages or powered speakers worldwide. The signal-path principles are not country-specific.
Version and regional limits: switch names, included cartridges, built-in preamps, power adapters and default accessories can vary by model, production run and market. The cited Yamaha RX-A4A manual carries a February 2025 publication marker; Cambridge Audio’s AXA35 connection FAQ was revised in November 2025; the Cambridge L/R X phono-stage specification was published in May 2026. All linked pages and the current SoundPath Lab catalogue were checked on 22 August 2026.
Not covered: ceramic cartridges, 78 rpm equalization, balanced phono connections, cartridge mounting or alignment, tracking force, stylus replacement, record care, digitization, wireless/Bluetooth playback, internal repair or electrical modification. If equipment is damaged, smells hot, shocks the user or repeatedly trips protection, disconnect it and seek qualified service.
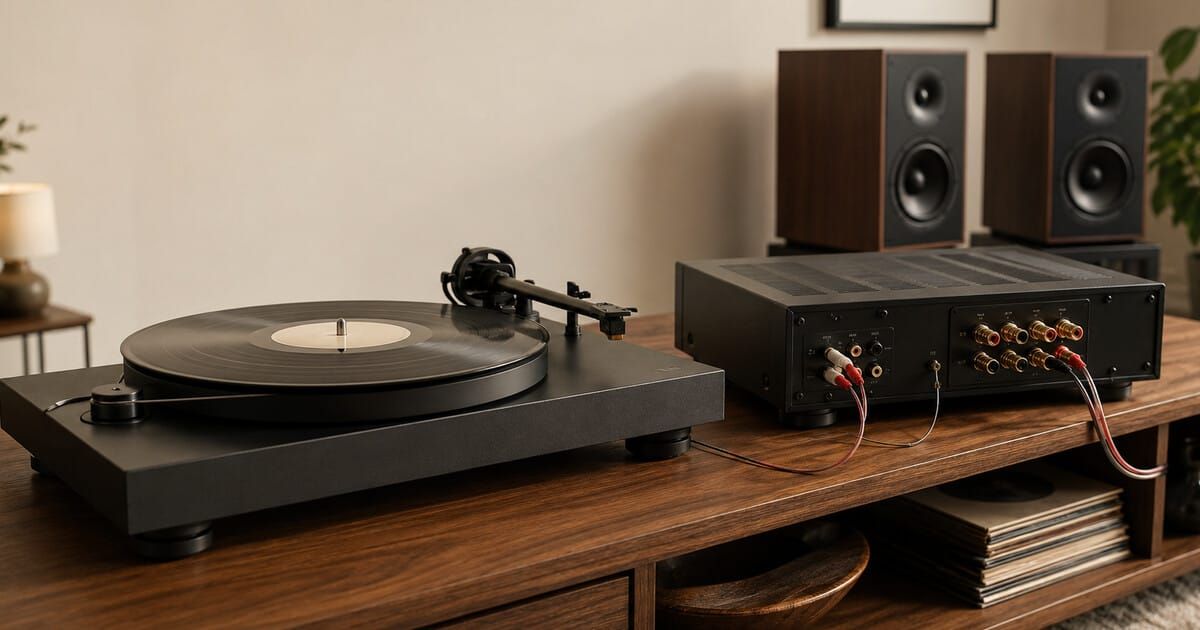
Disclosure: SoundPath Lab received no payment or product from the manufacturers cited. Product examples explain compatibility and signal levels; they are not rankings or endorsements. The cover is an AI-generated editorial illustration of an unbranded system, not a test photograph.
Sources
- Yamaha — How to Connect a Turntable to an AV Receiver: official PHONO/LINE routing, double-preamp warning and ground-wire guidance.
- Yamaha RX-A4A manual — Audio connection: MM-only phono input, low-output MC transformer note and signal-ground clarification.
- Yamaha R-N600A manual — Audio specifications: model-specific PHONO and line input sensitivities.
- Cambridge Audio — Connecting a turntable to the AXA35: built-in/external-stage routing, distortion warning and grounding guidance.
- Cambridge Audio AXA35 manual — Rear-panel connections: MM/high-output MC range and low-output MC requirement.
- Cambridge Audio — Alva Solo: official MM sensitivity, gain, load and RIAA-accuracy specifications.
- Audio-Technica — AT-LP3XBT: switchable PHONO/LINE output, nominal output levels and RIAA-equalized phono gain.
- Ortofon — MC-1 Turbo: high-output MC example specified for MM phono preamps.
- Ortofon — MC Salsa: low-output MC example with model-specific output and load.
Last checked: 22 August 2026. Recheck the exact turntable, cartridge and receiving-device manuals before changing PHONO/LINE or MM/MC settings.
Continue the research
Move from this article to a verified product decision
Use descriptive links to move between product records, brand evidence, comparisons, setup or issue guidance, and compatible-system tools. Inclusion reflects subject relevance, not a score or endorsement; product facts, recommendation eligibility, and commercial links remain separate.
Product page
Verify the exact model
Brand center
Check the wider platform
Related comparison
Compare the system role
Setup, firmware & problems
Check behavior before buying
System Builder & compatibility