Fixed or Variable Line Output? How to Set Volume Safely
Choose one safe master volume control across a streamer, DAC, amplifier or powered speakers—and avoid full-level surprises.
If a streamer, DAC and amplifier all have volume controls, which one should you use? The safest answer is to choose one deliberate master control, then configure every other stage around it.
The short answer
Use fixed output when the next component is an integrated amplifier, receiver or preamplifier that will control listening volume. Use variable output when the source component itself must act as the preamplifier—for example, a DAC connected directly to a power amplifier or a streamer feeding powered speakers.
That rule works because it gives the system one obvious master volume control. It also reduces the chance that two controls are fighting each other, one is accidentally left near maximum, or a family member turns the “wrong” knob.
fixed output
master volume
The exception is important: a variable output is not automatically safe to connect straight to a power amplifier. The source must provide dependable attenuation, mute behaviour, startup behaviour and enough control range for the downstream amplifier and speakers. If its manual does not explicitly describe preamplifier use, treat direct connection as unverified.
What fixed and variable actually mean
Verified fact On products that offer both modes, fixed means the line output is held at a defined level and normal volume adjustment at that device is disabled or bypassed. Variable means that device can change the line-output level.
Sonos describes this directly for Port: choose Fixed when volume will be controlled exclusively by an amplifier or receiver; choose Variable when the Sonos app should control level. Cambridge Audio likewise states that the DacMagic 200M’s fixed mode disables its front-panel volume control, while variable mode enables it. WiiM’s official bit-perfect setup instructions tell users to enable Fixed Volume Output when a downstream component is doing the volume work.
There is no universal voltage hidden behind the word “fixed.” Cambridge Audio specifies 2.1 V RMS from the DacMagic 200M’s unbalanced outputs and 4.2 V RMS from its balanced outputs at maximum, while WiiM notes a 2 V RMS default for certain line outputs and offers lower output-level choices. RME’s ADI-2 family offers multiple analogue reference levels. These examples are why the number in the manual matters more than the label on the app screen.
Line out is not the same as pre-out
A conventional line output is commonly intended to feed another component’s line input. A preamplifier output is designed to follow a volume control and feed a power amplifier, powered speaker or subwoofer. Manufacturers do not use these names perfectly consistently, so check the signal-flow diagram and the output description for your exact model.
Also separate analogue and digital outputs. Some streamers can vary their analogue output but leave coaxial or optical output fixed; others offer digital volume control. Cambridge Audio, for example, documents analogue-only preamp mode on the MXN10/AXN10 family. A feature shown for one connector cannot be assumed for another.
Choose the master volume for your system
| System | Recommended master control | Upstream setting | Why |
|---|---|---|---|
| Streamer or DAC → integrated amplifier → passive speakers | Integrated amplifier | Fixed, after checking output voltage | The amplifier is already the system preamplifier. |
| Streamer or DAC → AV receiver | AV receiver | Fixed | Keeps TV, music and other sources under one receiver volume. |
| Streamer/DAC with documented preamp mode → power amplifier | Streamer/DAC | Variable, with a volume limit if available | There is no later volume control. |
| Streamer/DAC → powered speakers | Usually streamer/DAC | Variable | Rear speaker trims are normally calibration controls, not daily controls. |
| Streamer → analogue preamplifier → power amplifier | Preamplifier | Fixed | One physical control governs all sources. |
| Streamer → integrated amp in power-amp/HT-bypass mode | Streamer, AVR or upstream preamp | Variable | The integrated amp’s normal volume stage may be bypassed. |
Editorial inference One master volume is the most predictable home setup, but “one” does not mean every other level control must sit at maximum. Powered-speaker input trims, power-amplifier gain switches and DAC reference levels can be used once to calibrate a sensible range for the master control.
A safe setup procedure
- Map the signal chain. Write it in order: source, converter or streamer, preamplifier or integrated amplifier, power amplifier or powered speakers. Mark every control that can change level.
- Identify the intended master. Prefer the device that is easy to reach, covers every source you use and offers predictable mute, startup and remote behaviour.
- Read the exact manuals. Confirm whether the relevant connector is fixed, variable or selectable. Record maximum output voltage, whether the setting affects analogue and digital outputs, and whether EQ or balance remains available in fixed mode.
- Power down or mute downstream equipment. Put the amplifier or powered speakers at minimum. Disconnect headphones. Stop playback before toggling fixed/variable mode or changing an analogue reference level.
- Set non-master devices. Put the source in fixed mode if a later preamplifier will control level. If the source is the master, select variable/preamp mode and enable a conservative maximum-volume limit where the product provides one.
- Start with a quiet test signal or familiar track. Bring up the downstream device first, then raise the master slowly. Listen for abrupt level jumps, obvious distortion, hiss or channel imbalance.
- Calibrate the usable range. Normal listening should not require the master control to live at either extreme. If it does, use documented gain, sensitivity or reference-level settings—not a random second daily volume control—to bring the range into a practical zone.
- Test failure states. Pause and resume, change sources, restart the source, wake it from standby and reconnect the control app. Confirm that none of these actions produces full output or restores an unsafe previous level.
Why maximum upstream is not always the right answer
“Turn every source to 100%” is incomplete advice. It may be appropriate when 100% is the documented fixed line level feeding a normal line input. It is not a universal prescription.
An upstream device can have an output level high enough to overload the next analogue input before the loudspeaker amplifier itself runs out of power. WiiM’s official guidance explicitly suggests lowering the line-output level when distortion is present. RME and Cambridge Audio publish different maximum output levels and reference choices across their products. The correct match is the highest clean level that the receiving input can accept with useful headroom—not the largest number available in an app.
Experience-based recommendation If you do not have input-overload specifications or test equipment, begin with the manufacturer’s consumer/default line level, keep the downstream control low, and increase gradually. A louder result during a quick comparison is not evidence of better sound.
Digital attenuation is not automatically a problem
Reducing level digitally can lower the signal relative to a converter’s fixed analogue noise floor, but the audible consequence depends on implementation, internal processing depth, output-stage design and how much attenuation is used. Some products manage this with switchable analogue reference levels; RME’s Auto Ref Level is one example. That is a better basis for a decision than the blanket claim that any digital volume adjustment “throws away the music.”
For ordinary systems, predictable control and avoiding overload are more important than preserving a theoretical maximum number of digital bits at every listening level. If you need to compare two control arrangements, match their acoustic level carefully; even a small loudness difference can bias the result.
Powered speakers need a commissioning step
Powered speakers often put an input-sensitivity or level control on each cabinet. Use those controls to establish a safe relationship between source output and room loudness, then leave them matched. Daily adjustment should normally happen at the upstream preamplifier, monitor controller, DAC or streamer.
Do not assume that a tiny knob on the back is a full preamplifier. It may be an input trim with a limited range, and it may be difficult to match precisely between left and right speakers. Conversely, do not connect a fixed full-level source directly to powered speakers merely because they have rear trims. Confirm that the trims can attenuate the source sufficiently and that the source cannot unexpectedly reset to a higher output.
If you are deciding between powered and passive systems, the control-location trade-off is covered in Powered vs Passive Speakers. For complete TV-and-music chains, see Three Clean TV + Music Stereo Architectures.
Common mistakes and what they sound like
The system is far too loud after a settings change
The source probably changed from variable to fixed, or its output/reference level increased. Mute downstream equipment, restore the previous mode, then repeat the setup from minimum volume. Do not try to correct a sudden full-level signal while music is playing.
Volume works in two apps—or two remotes
You likely have two active controls. Decide which device owns daily volume. Put the other in fixed mode if its manual permits that path. Sonos Port also offers Pass-Through for compatible amplifiers: the Port stays fixed while sending control commands to the amplifier. That is control integration, not two analogue attenuators in series.
The sound is quiet even with the master near maximum
Check for a low source limit, a low analogue reference level, an input-sensitivity setting, speaker trims or an unintended second volume control. Do not immediately raise every stage. Change one setting at a time and note the original value.
The sound becomes harsh before the amplifier is very loud
The receiving input may be overloading, the source may be clipping after EQ, or the power amplifier may already be reaching its limit. Lower the source output or EQ boost and retest. For passive-speaker power and load questions, use How to Match an Amplifier to Passive Speakers.
There is hum or buzz after rearranging the chain
Output mode is not normally a cure for a ground loop. Restore a safe level, then isolate connections systematically. SoundPath Lab’s dedicated Hum and Buzz guide remains in editorial draft at the time of this check, so no live internal link is provided here.
A practical checklist before you press play
- Exactly one device is the daily master volume control.
- The source’s fixed or variable setting matches the system architecture.
- The receiving input can accept the source’s maximum analogue output.
- Power-on volume, volume limit and mute behaviour have been tested.
- Left and right powered-speaker trims are matched.
- EQ boost and per-source gain are accounted for.
- Every household user knows which control to use.
When the chain is more complicated—multiple rooms, an AVR bypass, separate zones or several preamplifier-capable devices—draw the path first. The SoundPath Lab System Builder and Reference & Tested Chains can help identify which component should own level control. Use the Product Database to locate exact models, then verify the current manual before changing a setting.
What is verified, inferred and still model-specific
Verified fact Fixed/variable behaviour, maximum output, connector scope and safety functions are product properties. The examples in this guide are taken from current official manuals and support documents.
Editorial inference Choosing one master control is the most predictable architecture for a shared home system. It follows from the documented device behaviours, but it is not a universal engineering standard.
Experience-based recommendation Muting downstream equipment, starting low, testing restarts and keeping normal listening away from control extremes are conservative commissioning practices. Exact settings require the actual devices, room and gain structure.
Applicability, limits and disclosure
Applies to: consumer home-audio systems worldwide using analogue line connections among streamers, DACs, preamplifiers, integrated amplifiers, power amplifiers and powered speakers. The general method is not tied to a country.
Version and regional limits: app labels, firmware features, maximum output voltages and defaults vary by model, firmware and region. WiiM support pages checked here were current through January 2026; Cambridge Audio documents MXN10/AXN10 preamp control from firmware 132-b-007; the Cambridge Audio online manuals and Sonos Port support page were checked on 20 August 2026; the RME ADI-2 DAC FS manual listed by RME was version 3.4a dated July 2025. Denon’s cited example is a model-specific AVR-X3800H manual and should not be generalized to every receiver.
Not covered: professional sound-system alignment, balanced-line wiring faults, hearing-safety exposure limits, phono-level signals, microphone preamplifiers and product repair. This guide cannot confirm that an undocumented output is safe to drive a power amplifier directly.
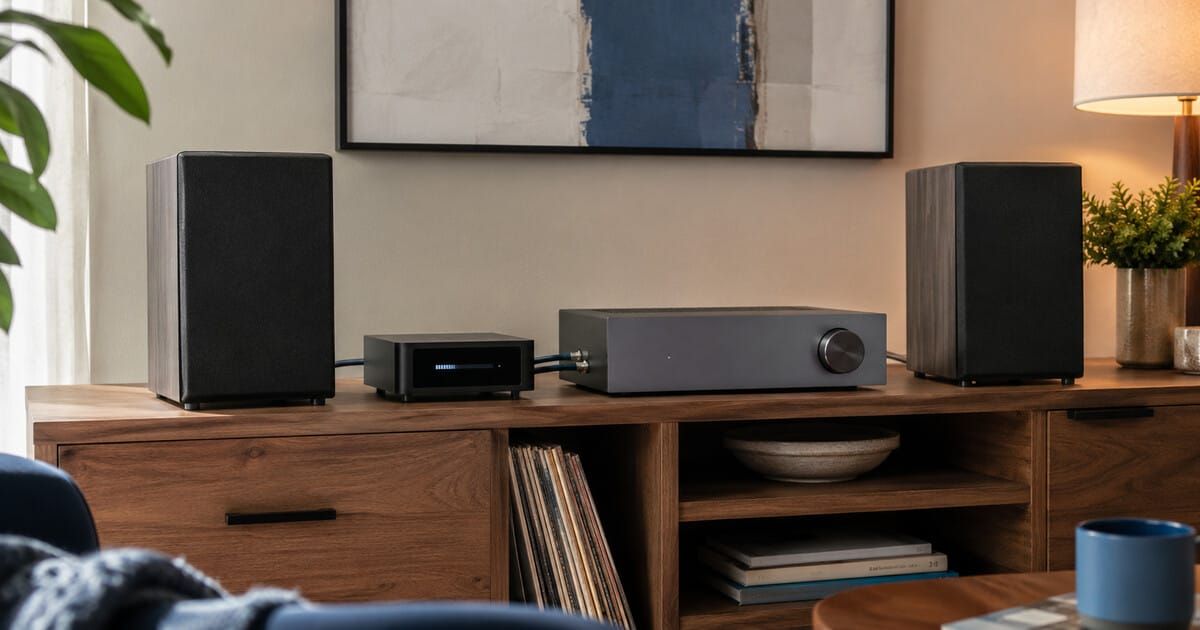
Disclosure: SoundPath Lab received no payment or product from the manufacturers cited. Product examples explain settings; they are not rankings or endorsements. The cover is an AI-generated editorial illustration of an unbranded system, not a test photograph.
Sources
- Sonos — Set up your Sonos Port: official Fixed, Variable and Pass-Through line-out definitions.
- WiiM — Set up bit-perfect playback: official fixed-volume and per-source settings.
- WiiM — Output level and volume limit: official 2 V RMS default example and distortion-control options.
- Cambridge Audio — DacMagic 200M advanced settings: official fixed/variable mode behaviour.
- Cambridge Audio — DacMagic 200M specifications: official unbalanced and balanced maximum output levels.
- Cambridge Audio — MXN10 frequently asked questions: official analogue-only preamp scope; firmware 132-b-007 or later.
- Rane — Setting Sound System Level Controls: first-party technical note on gain structure.
- RME — ADI-2 DAC FS manuals and downloads: official manual version and analogue reference-level documentation.
- Denon — AVC-X3800H Zone 2 setup: model-specific variable/fixed level, limit and power-on volume options.
Last checked: 20 August 2026. Recheck the exact product manual and firmware notes before changing output mode or connecting a source directly to a power amplifier or powered speakers.
Continue the research
Move from this article to a verified product decision
Use descriptive links to move between product records, brand evidence, comparisons, setup or issue guidance, and compatible-system tools. Inclusion reflects subject relevance, not a score or endorsement; product facts, recommendation eligibility, and commercial links remain separate.
Product page
Verify the exact model
Brand center
Check the wider platform
Related comparison
Compare the system role
Setup, firmware & problems
Check behavior before buying
System Builder & compatibility